iSyncr for Mac Tutorial: Gingerbread and Earlier
iSyncr for Mac will sync songs from iTunes to your Android device. This tutorial will show you the proper way to sync using iSyncr USB, with your Mac.
Required:- iSyncr (or Trial) app installed on your Android from Google Play or Amazon Appstore
- Mac 10.5 or later (PC users click here)
- Android OS 2.3 or earlier (If you do not know your OS, select Menu > Settings > About Phone > Software Information, or similar)
Please note, Android tablets and Android devices running Android 3.0 and later will need to use the following tutorial. (Honeycomb, ICS and Jelly Bean).

1.) Download iSyncr for Mac from Google Play or the Amazon Appstore.
2.) Open iSyncr for Mac on your Android device after it is installed
2.) Open iSyncr for Mac on your Android device after it is installed

3.) Select where you would like to install iSyncr. If iSyncr detects more then one storage area, you'll have the option to select "Both". If your device has only internal memory or only SD card memory, iSyncr will show "USB Storage". Note that if you add an SD card at a later date, you will want to press the "Installation" button on the main screen and re-run this setup process.

4.) After installing, you get a message about ejecting your storage before unplugging the device. This is just a friendly reminder to hit the "Eject" button on your Mac before unplugging your Android device. It is easy to forget.


5.) Now iSyncr will have you walk through a full tutorial on the device. Note that you can view this tutorial at any time by going "Help->Tutorial".

6.) Now it is time to take a USB cable (one probably came with your device) and connect it to your Mac
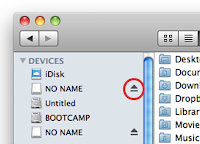
7.) Using the instructions from the tutorial on your device, get the device's storage areas to show up in Finder (Mass Storage mode)
7.) Using the instructions from the tutorial on your device, get the device's storage areas to show up in Finder (Mass Storage mode)
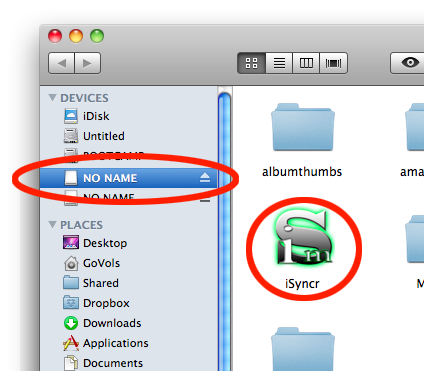
8.) Open the drive in Finder
9.) Run iSyncr
9.) Run iSyncr
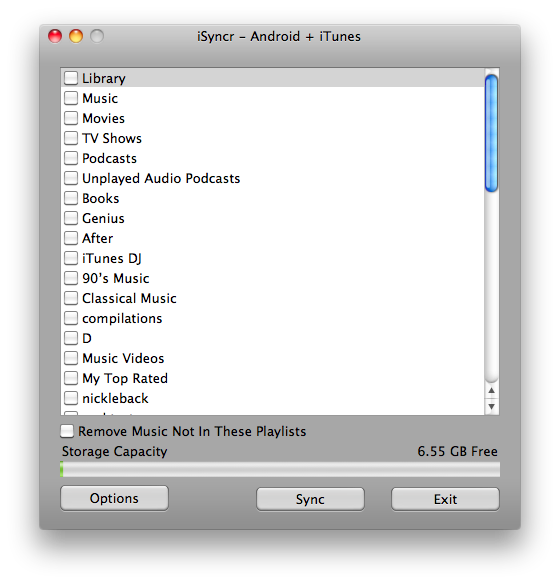
10.) Select some playlists and press "Sync"!
11.) When finished, close iSyncr, press eject and unplug your device
12.) Your music and playlists should be available on your Android device in a couple of minutes.
11.) When finished, close iSyncr, press eject and unplug your device
12.) Your music and playlists should be available on your Android device in a couple of minutes.